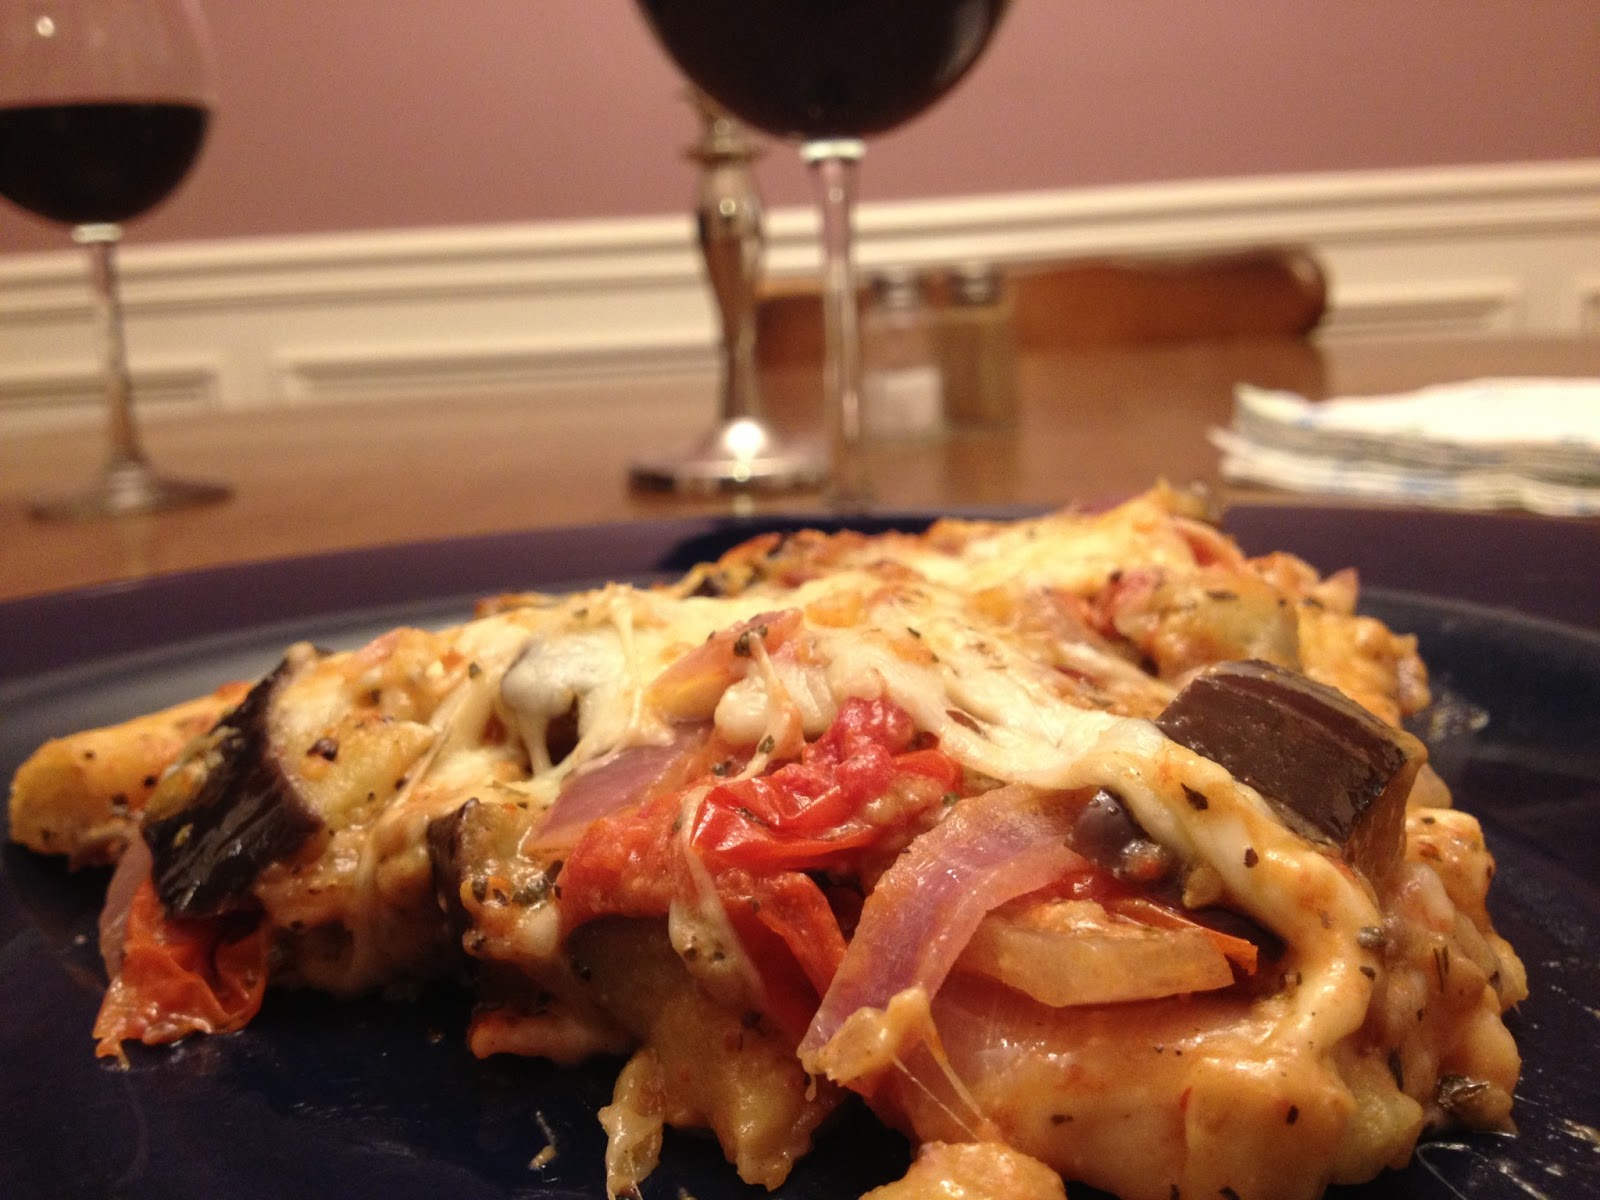
Eggplant, Onion & Tomato Pizza

Oh, hey! Yep, this is me actually posting again. As I'm sure you've noticed, I have not been posting as usual over the last few months. I'm hoping to change that now! I hate to use the "I've been busy" excuse, but that is honestly what has been going on. I have not had anywhere near the amount of time to plan and fix dinner that I used to have. This isn't to say that things aren't going well, because they are. Life is fantastic! But between a new job, new activities, and a new city to explore, my time in the kitchen has become limited. However, two things have happened in the last few days. 1) I received a very nice comment on a very old blog post from a complete stranger the other day that made me feel encouraged to get back into the swing of things, and 2) I had a lot of fun cooking dinner tonight.
I have posted a few pizza recipes over the last year, and this one was quite tasty! I found a recipe in a cookbook, but modified it to my liking, which I'll post below. I was a little skeptical about making a pizza that didn't use a red sauce (or any sauce at all), but it wasn't even needed on this pizza! You wouldn't even realize you were eating a vegetarian pizza unless I told you! It was delicious! For the crust, I used my friend Sara's pizza dough recipe, which I am a firm believer in and I will never ever use another pizza dough for as long as I live (it's THAT good).
As for roasting the vegetables, I got a pretty large eggplant, so I ended up having to do my roasting in two different sessions because I didn't have enough room on my roasting pan. I roasted the eggplant first, then roasted the tomatoes and onion together next. If you aren't a huge fan of hot/spicy things, I would reduce the amount of red pepper flakes. I added a teaspoon, which at the time didn't seem like a whole lot, but I ended up needing a glass of milk by the end of dinner because my mouth was on fire. I don't have as high of a tolerance as other people though. I would suggest only using 1/2 teaspoon red pepper flakes in the recipe and then sprinkling more on top of your slice of pizza as you like. The roasted vegetables added a lot of flavor to the pizza. Overall, a great success! Enjoy!
(By the way, I just realized that the recipe I modified this from used balsamic vinegar and I am SO UPSET that I missed this because I LOOOOOVE balsamic vinegar! :-( I'm so disappointed! Balsamic vinegar would have really set this pizza apart above others. I'll just have to make it again soon. :-) I included the balsamic vinegar in my modified version below because I don't want you to make the same mistake I did and not include it!)
Eggplant, Onion & Tomato Pizza
modified from Grilled Pizza with Eggplant and Tomatoes from Weeknight Fresh and Fast by Kristine Kidd
Ingredients
pizza crust ingredients and recipe found here
olive oil
2 tbsp balsamic vinegar
salt and pepper
1 large eggplant, cubed
1 red onion, sliced
1 pint cherry tomatoes, sliced lengthwise
1 (8 oz) package shredded mozzarella cheese
1/4 cup grated Parmesan cheese
1 teaspoon red pepper flakes
1 teaspoon dried basil
1. Make pizza dough as instructed.
2. Preheat the oven to 475°F. Brush pizza dough with olive oil and bake for 7-9 minutes or until slightly browned.
3. Remove pizza dough from oven. In a bowl, toss eggplant, onion and tomatoes in olive oil. Lay out on roasting pan and sprinkle with salt and pepper. Roast for 10 minutes or until done.
4. Reduce heat to 425°F. In a bowl, toss roasted vegetables with balsamic vinegar, Parmesan cheese, red pepper flakes, and basil. Sprinkle a handful of mozzarella cheese on the pizza crust, then add the roasted vegetable mixture on top of the pizza dough. Sprinkle remaining mozzarella cheese on top of entire pizza. Bake for 10-12 minutes or until cheese is starting to brown slightly.
posted by Katie Griffin @ 9:48 PM
0 Comments
![]()